In part two of this tutorial on how to knit, you will learn The Knit Stitch. The Knit Stitch is the basis of knitting, of course. In patterns you will see it represented with a (k).
Follow the steps below to create the knit stitch.
Once you have casted on your stitches (and feel free to go back to the tutorial on how to cast on) you should be ready to start knitting.
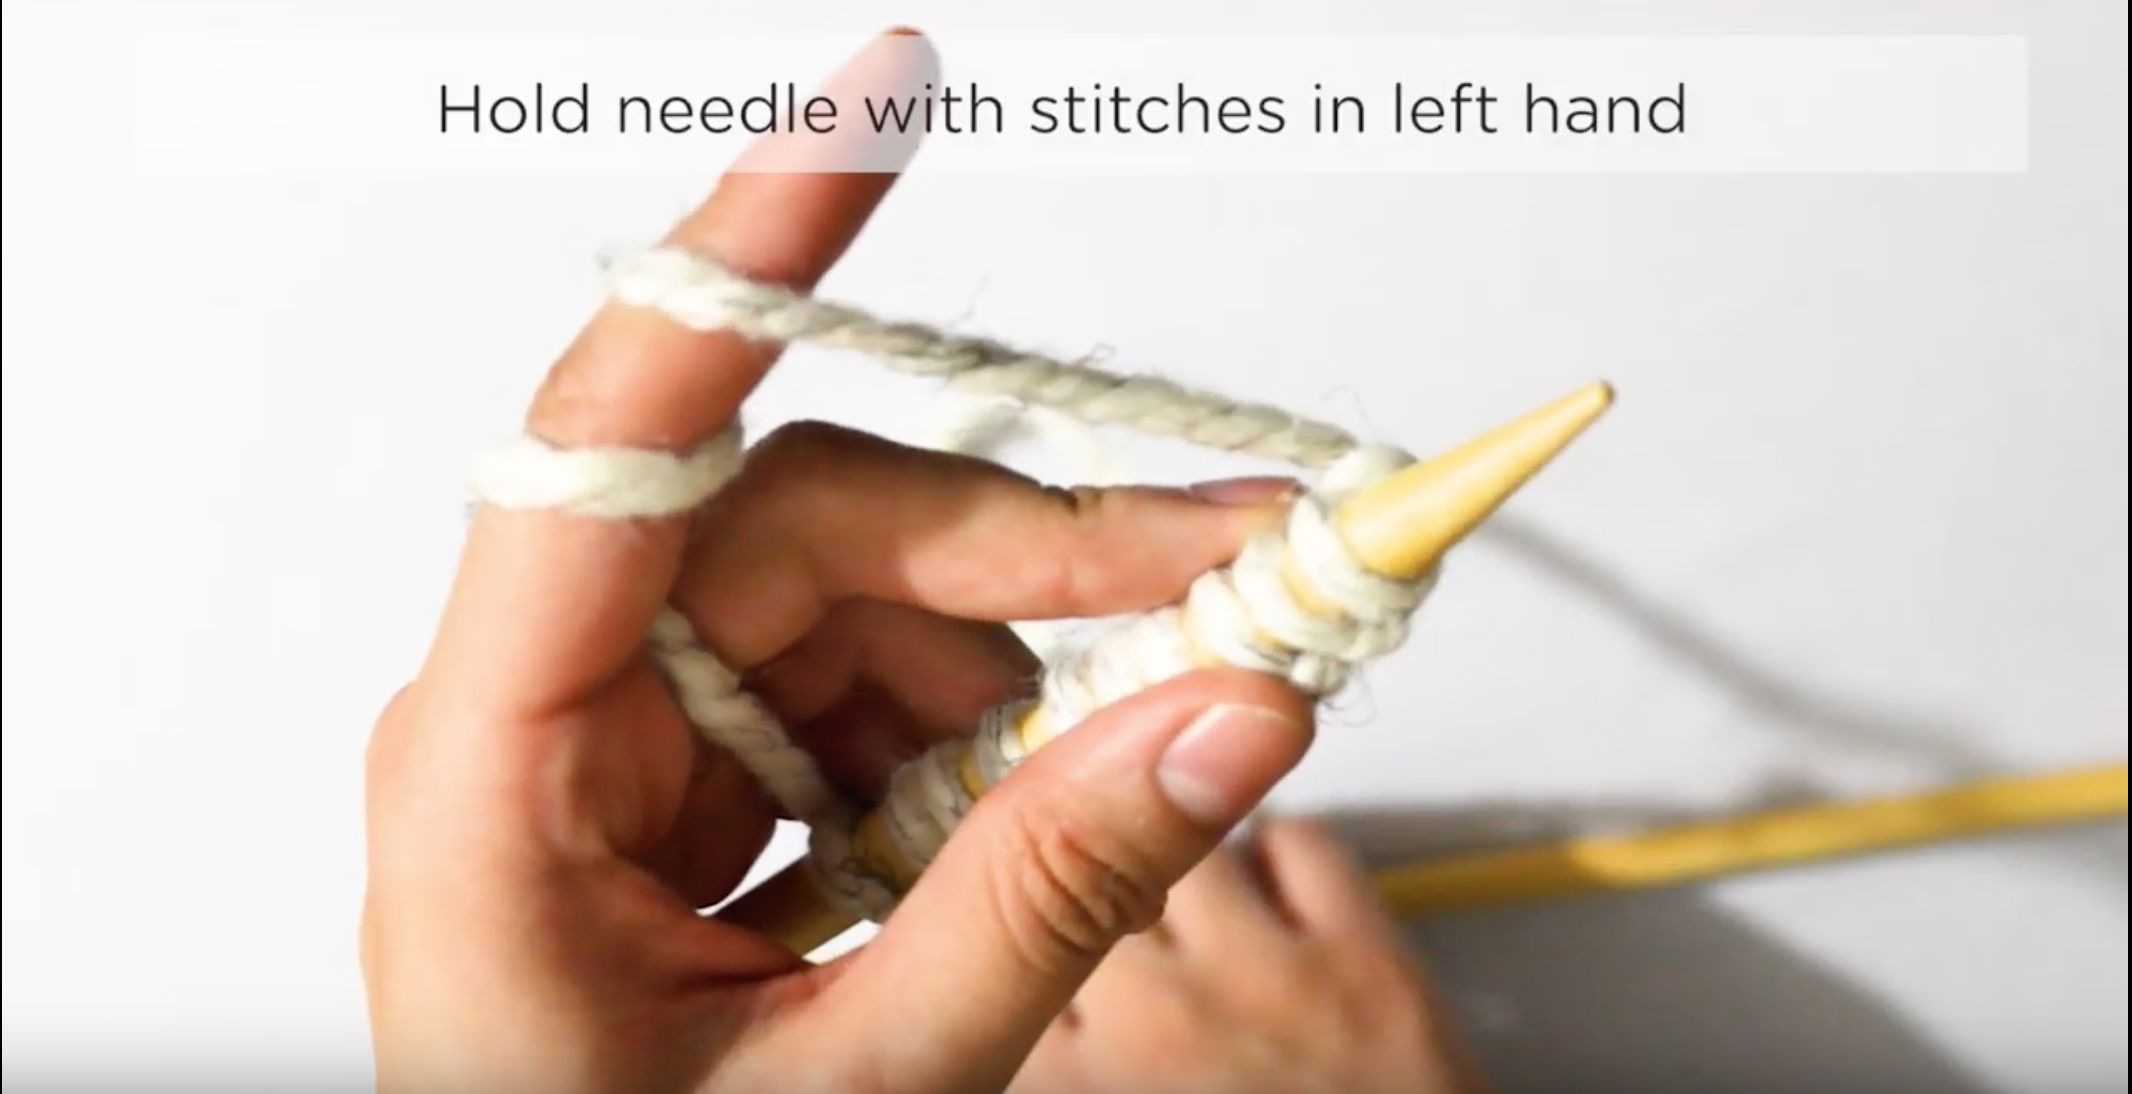
1. Hold your needle with the stitches you casted on, on your left hand. You can wrap the working yarn around your finger a few times to create tension. You will use your other needle with the right hand. Hold it as if holding a pencil
2. Insert the point of the needle into your first stitch, from front to back as pictured.

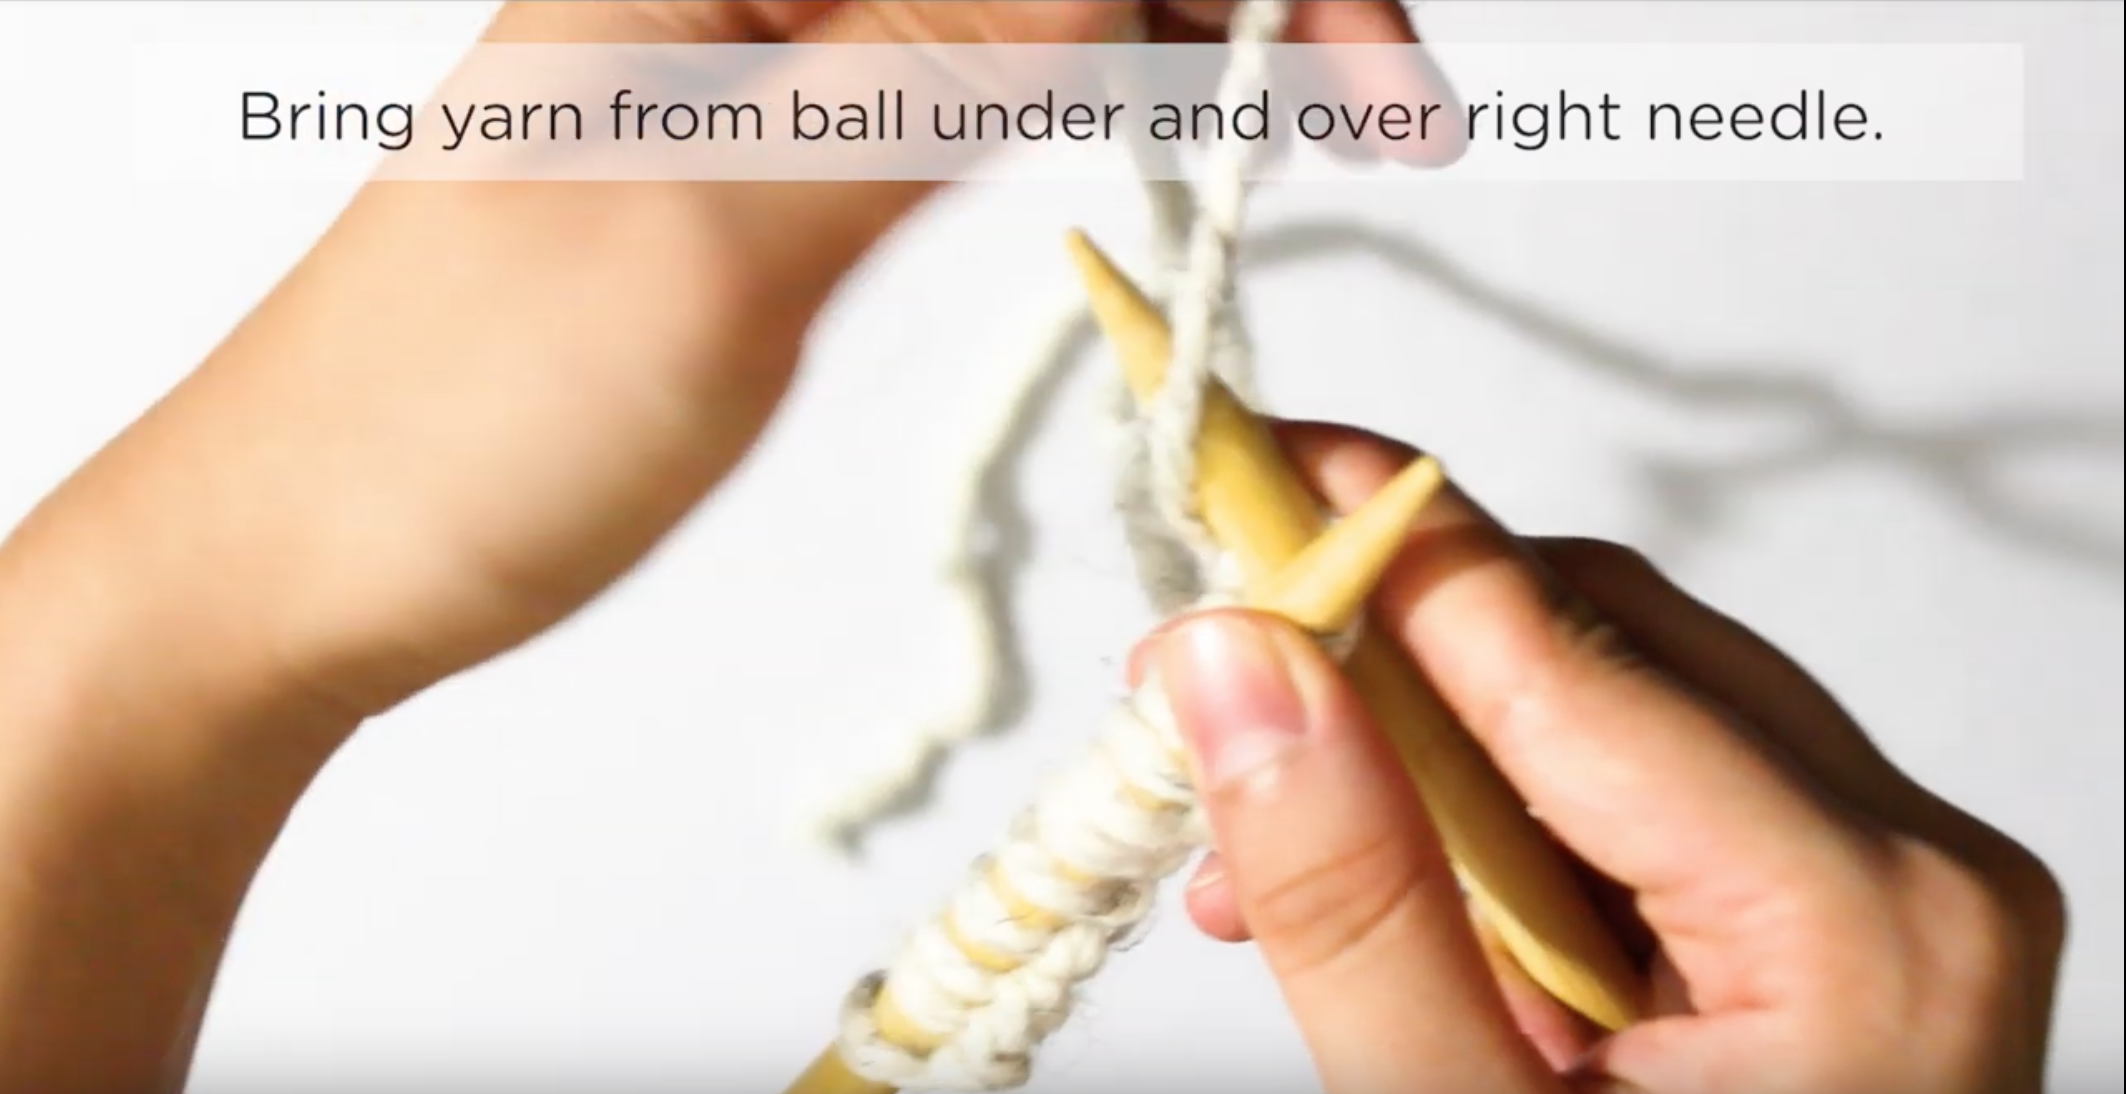
3. Holding this position with your needles, you will now yarn over by bringing the yarn from the ball under and over right needle.
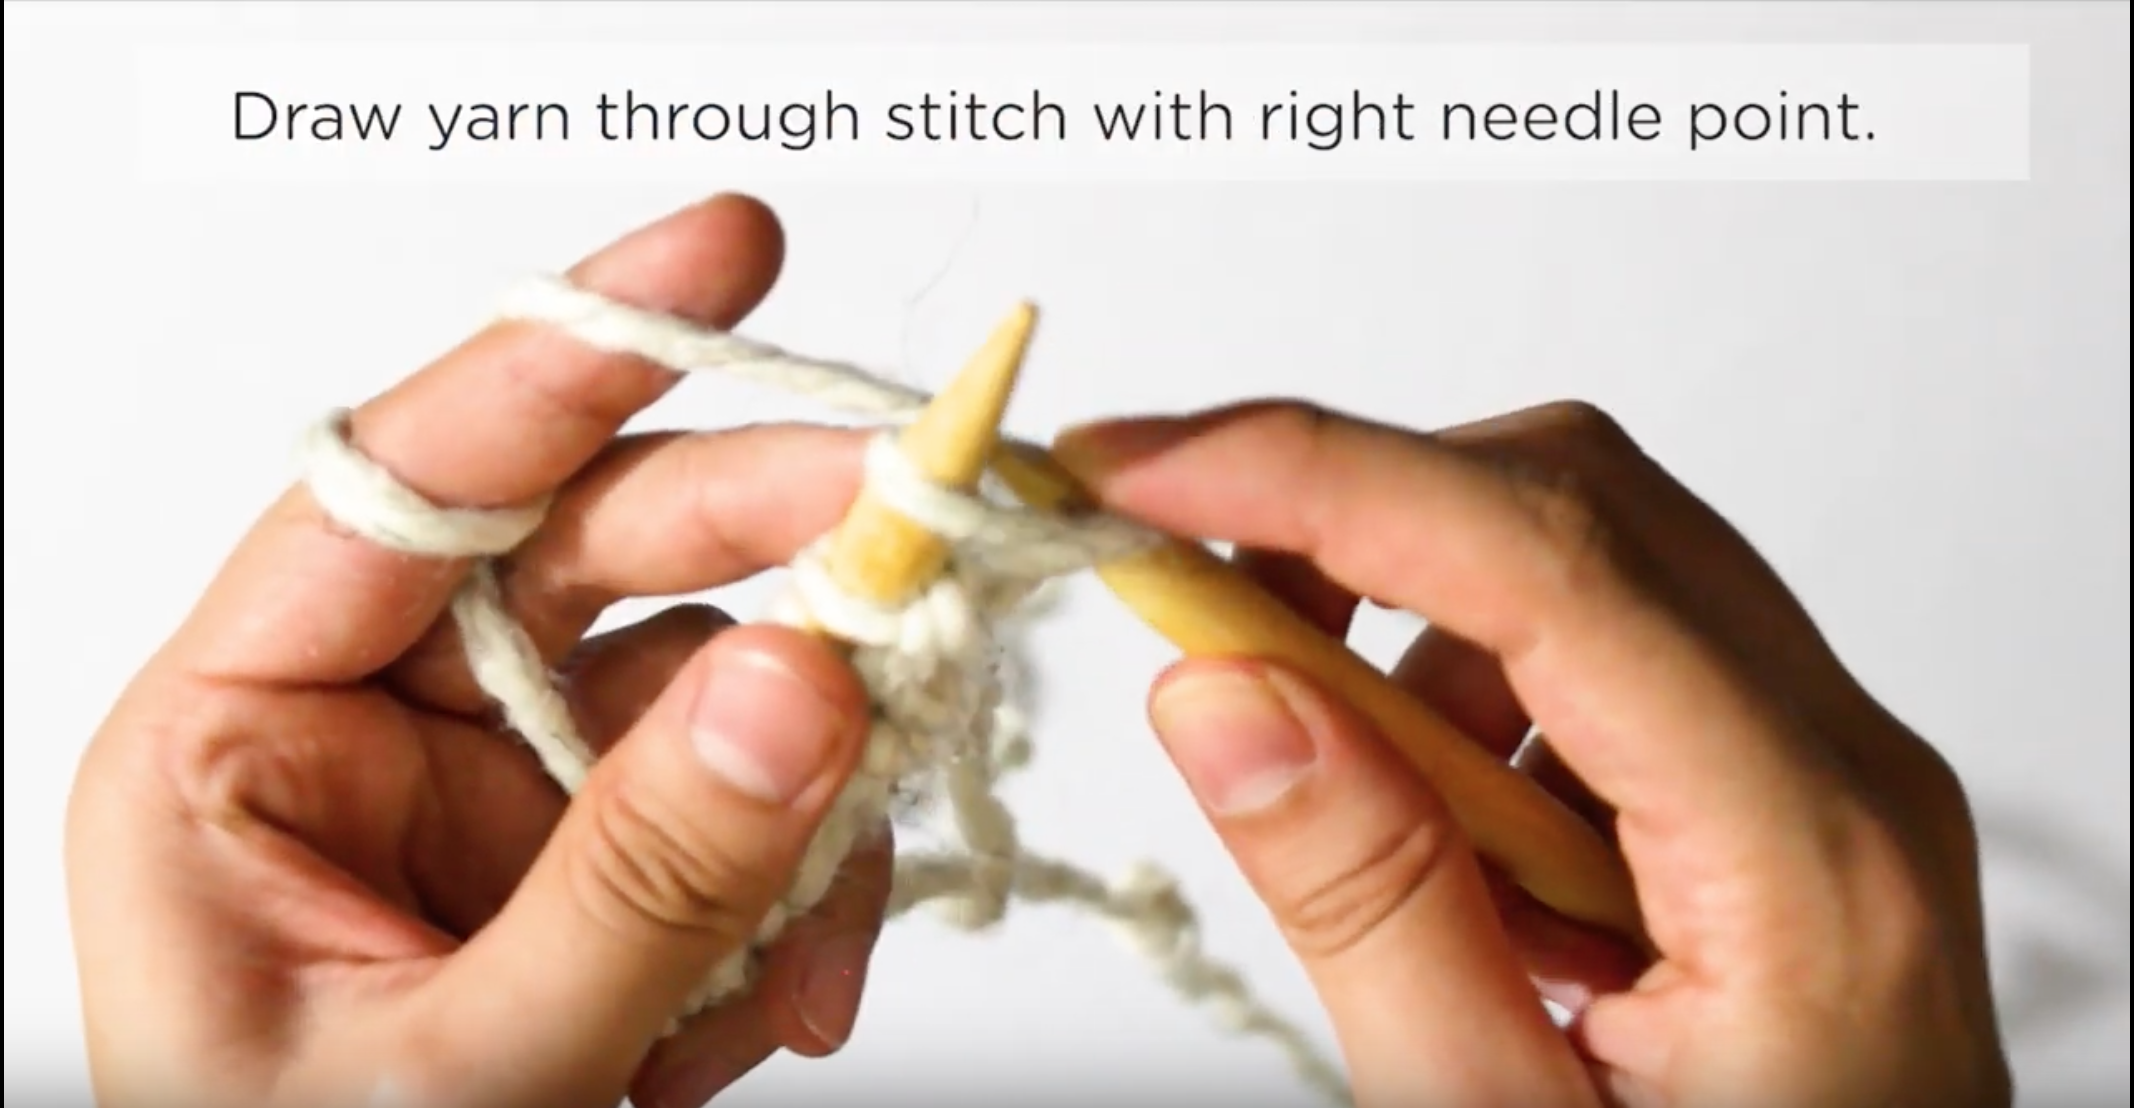
4. Now, with the yarn over, draw the right needle back through the first stitch. This will create your first stitch on your right needle.
5. Slip this new loop off the left needle, being careful to keep it on the right one.

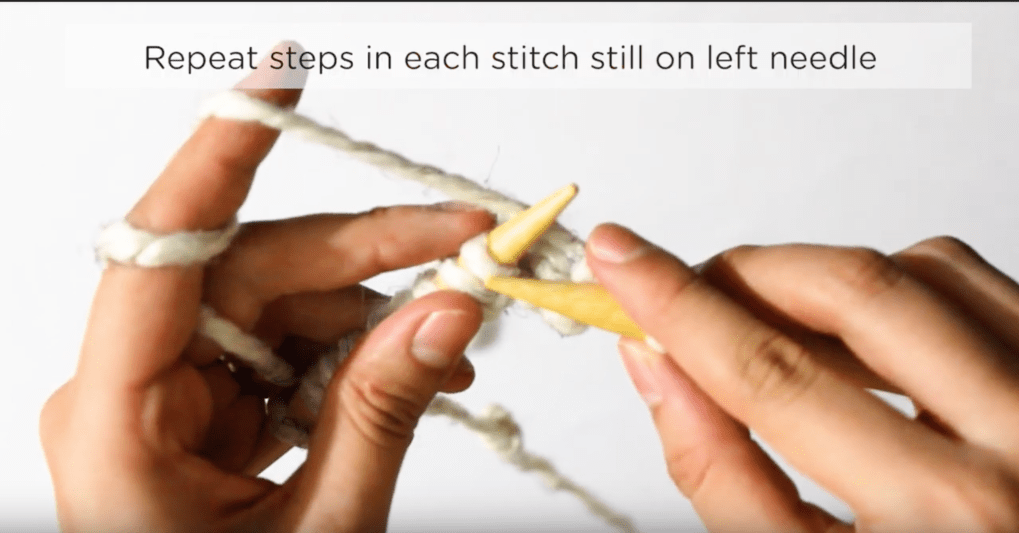
6. You have created your first stitch! Repeat steps 1 through 5 until you have knit every stitch on your left needle and pass them to the right one.
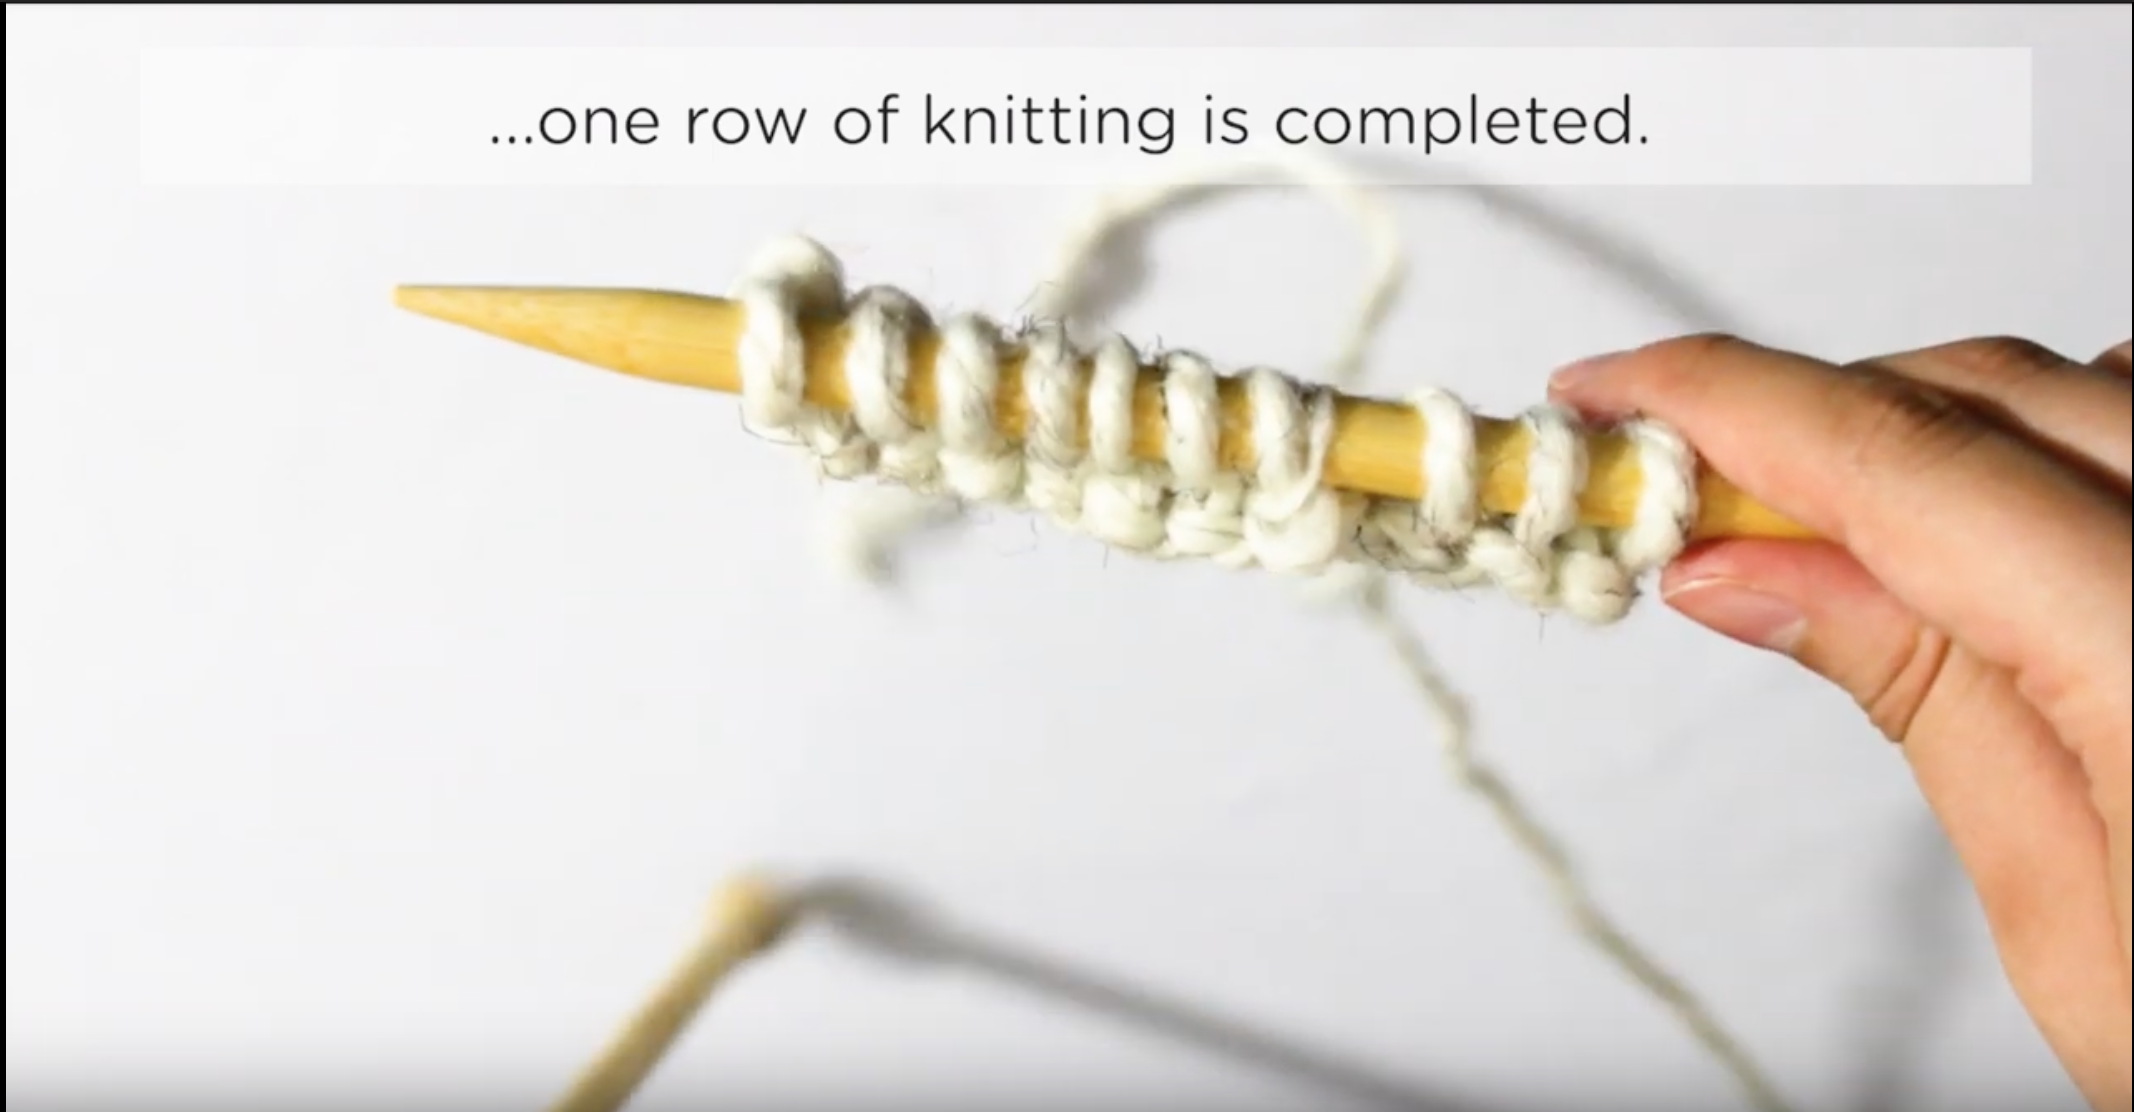
7. When you have worked every stitch you will have completed one row of knitting. Begin next row: turn around needle, holding it with your left hand, and repeat all steps.
8. Continue knitting until desired length. This stitch is also known as garter stitch.

Still confused? Check out the video version of this tutorial below!

3 thoughts on “Learn how to knit. Part 2: The knit stitch. (with pictures and video!)”